Sunday, September 28, 2014

Faboolous {Paper Smooches SPARKS}

Hello friends, 

I am popping in today to share a card I made for this week's Paper Smooches SPARKS Challenge.  This week is a sketch challenge and here's my take: 


I started with a white card stock base and stamped the monster from the August TAM stamp set, Ghoulfriends.  Next I trimmed a piece of white card stock at an angle, die cut a stitching line using the Stitched dies.  I stamped the next monster on the angled panel and repeated the process again.  


I stamped the sentiment in black ink and then adhered all the panels to the card base with foam tape.  Here's a look at this week's inspiration sketch:


Ready to play? You know the routine! You have until 11:59 PT on Saturday, October 4 link up your take on this week's challenge to the Paper Smooches SPARKS blog for a chance to win a $30.00 gift certificate to the Paper Smooches store. Woot woot!  

Well that's all for me today!  I am off to get this in the mail! Be sure to check out inspiration from the awesome members of the Paper Smooches SPARKS team playing along with this week's challenge:


Thanks for stopping by! 
Katie

Friday, September 26, 2014

Becoming real and a little bunny love {Avery Elle}

Hello friends and Happy Friday!

It's been a busy week around here, so I am especially happy to see Friday roll around at long last.  I have a card today up on the Avery Elle blog using the darling More Stories stamp set designed by the amazing Heather Campbell.  For my card, I decided to use the rabbit image and I created a card reminiscent of one of my very favorite childhood books- the Velveteen Rabbit.  Here's my take:


I started with a tan card base, rounded the bottom corners and then I used the curve from the Custom Panels Elle-ments die to lightly trace a mound.  Next I stamped the mound with the grass (and mushroom) images with brown ink.  I erased the pencil line and stamped and die cut the bunny and banner on a scrap of rustic cream card stock. 


I colored the bunny with markers and adhered him and the banner to the card base.  Finally, I stamped the dragonfly and trail.  I suppose you could say that the dragonfly is sort of like the nursery magic fairy who turns well loved toys into "real."

Here's the book and cover that inspired my card: 


Seriously, so much love for this story.  May we all have the privilege of becoming real. 

That's all for me today.  Thanks for stopping by!
Katie


Thursday, September 25, 2014

You're a gem {Take 2 Thursday}

Hello, hello friends,

Happy Thursday!  Lindsay and I are back today with another Take 2 Thursday.  This week we are using the Poet Society Card Kit from Studio Calico.  I have been a Studio Calico subscriber for 7 months now, and I have to say that the stamp set included in the September kit is hands down one of my favorites- jewels, banners, a fancy font and sentiments for a variety of occasions- what's not to love?!  Anyway, here's my take with the kit:


I made a card from white card stock.  Next I die cut a circle from a panel of 4.25 x 5.5" white card stock.  I aligned the die cut panel with the card front and used a pencil to trace the circle on my card.  I stamped the sentiment first in black ink. 


Next, for the gems and jewels, I employed the "two step stamping with one step stamp" technique.  In other words, I inked up and stamped the back side of the stamp before stamping the lined image on top.  This technique works well with almost any symmetrical stamp.  I am not great at coloring, so this allows me a fast and easy way to get some color to my lined images.   

Once I stamped the larger images, I filled in the design with a few of the smaller gems and stars.  I erased the pencil line and adhered the die cut panel to the card with foam tape. 

Here's a look at the Poet Society kit: 


That's all for me today, but please be sure to visit Lindsay's blog to see what she created with this kit.  I know it will be amazing! 

Thanks for stopping by!
Katie


Saturday, September 20, 2014

Joy (Waffle Flower Crafts}

Hey hey and Happy Saturday!

I am popping in today to share a card I made with a few of the newer Waffle Flower Crafts stamp sets.  I seem to be in the Christmas card spirit lately and this card is no exception. Using the Riverside stamp set and A Homemade Christmas stamp set I combined some of the small images from these sets with a die cut from the Silhouette Online store and created a very bold and sparkly Christmas card.


First I die cut "joy" from black cardstock using THIS cut file.  I did elongate and decrease the height of the cut before sending it to my silhouette. I cut the same sentiment in white cardstock as well. I covered the front of the white cardstock with adhesive and covered it in glitter.  

After brushing off the excess, I placed it on a white cardstock base and I sketched a line where the line leading to the "j" and from the "y" would fall.  I stamped the tiniest pine tree from the Riverside stamp set in green ink a few times and one of the small houses and small heart from A Homemade Christmas stamp set in red ink. 


I adhered the glitter cardstock to the stamped card base and adhered the black die cut joy with a glue pen.  I also kept the inner loops of the letters cut from the white cardstock, covered them with adhesive and glued them inside the black die cut. Combining small stamps with a large sentiment helps even the tiniest images make a bold statement. 

Well that's all for me today.  Thanks so much for stopping by! 

Katie

Friday, September 19, 2014

Lots of Avery Elle Inspiration

Hello and Happy Friday, 

Just popping in today to share some Avery Elle cards.  

First up is the card I made for the latest AEI{heart}U challenge.  This week, we are following a sketch designed by our talented teamie, Yana Smakula and here's my take: 


My card uses the new Joy to the World and Noel stamp sets plus the fun Circle Tag die. 


Please pop over to the AEI{heart}U blog to check out all the challenge details and check out even more amazing cards from the Design Team.   This is my last DT card for the AEI{heart}U challenge.  We are making way for a new and fabulous group of ladies who will be taking over and providing Avery Elle Challenge inspiration starting October 1. 

I am also on the Avery Elle blog today sharing a card and a tag I created using the Fabulous Florals stamp set.  I LOVE this set- it's so amazing!   


I die cut a piece of Rustic Cream cardstock using the Finished Frames die.   I stamped the sentiment from Noel in red ink and added some florals from the set in blue, green, and red ink.  I then attached the stamped panel to a kraft cardstock base. I have to say, I think the Fabulous Florals set pulls off Christmas quite nicely.


I also created a tag using Fabulous Florals and the Circle Tag die.  This time, I stamped the images around the rim of the tag in shades of red, yellow, purple and green ink.  Once the images were stamped, I added the sentiment in black ink and tied a simple cord to the tag. 

Well that's all for me today!  Thank you so much for stopping by!

Katie

Monday, September 15, 2014

Creative Blog Hop

Hello friends, 

I have something a bit different to share today.  Last week, my friend Lindsay from Note to Self, tagged me for the Creative Blog Hop that's been going around  blog-land over the past several weeks/months. 

I get to answer four questions to share a little more about my process then I will share some information about the ladies who will be participating in the hop next week. :)

What am I working on now?  
The better question might be, what am I NOT working on now. LOL!  Over the weekend, I made some cards which I will be submitting for the Paper Crafts and Scrapbooking Card Creations volume 13 call.  My crafty to do list includes design team assignments for Avery Elle, Waffle Flower Crafts, and Paper Smooches SPARKS, as well as the Paper Crafts and Scrapbooking April 2015 submission call.  I am also a co-leader for my daughter's Daisy Girl Scout troop.  My responsibilities include crafts and banking.  Last week, I made a Kaper Chart using foam board, my Silhouette Portrait and velcro. (After I looked up what a Kaper chart was!)  Oh and on Sunday, I am hosting a dozen-plus 7 year-old girls at our house for a Frozen-themed birthday party. From crowns to decorations and goodie bags, lots of crafty happenings here. 

How does my work differ from others in my genre?  
Well, I have been paper crafting for a really, really LONG time and for a really, really LONG time, I didn't understand my style or what differentiated my work.  


Over the past year or so, I have settled in on what seems to work for me and what makes me different:
  • Simple supplies- think card stock, stamps, dies
  • My cards often have a humorous or "kitschy" twist
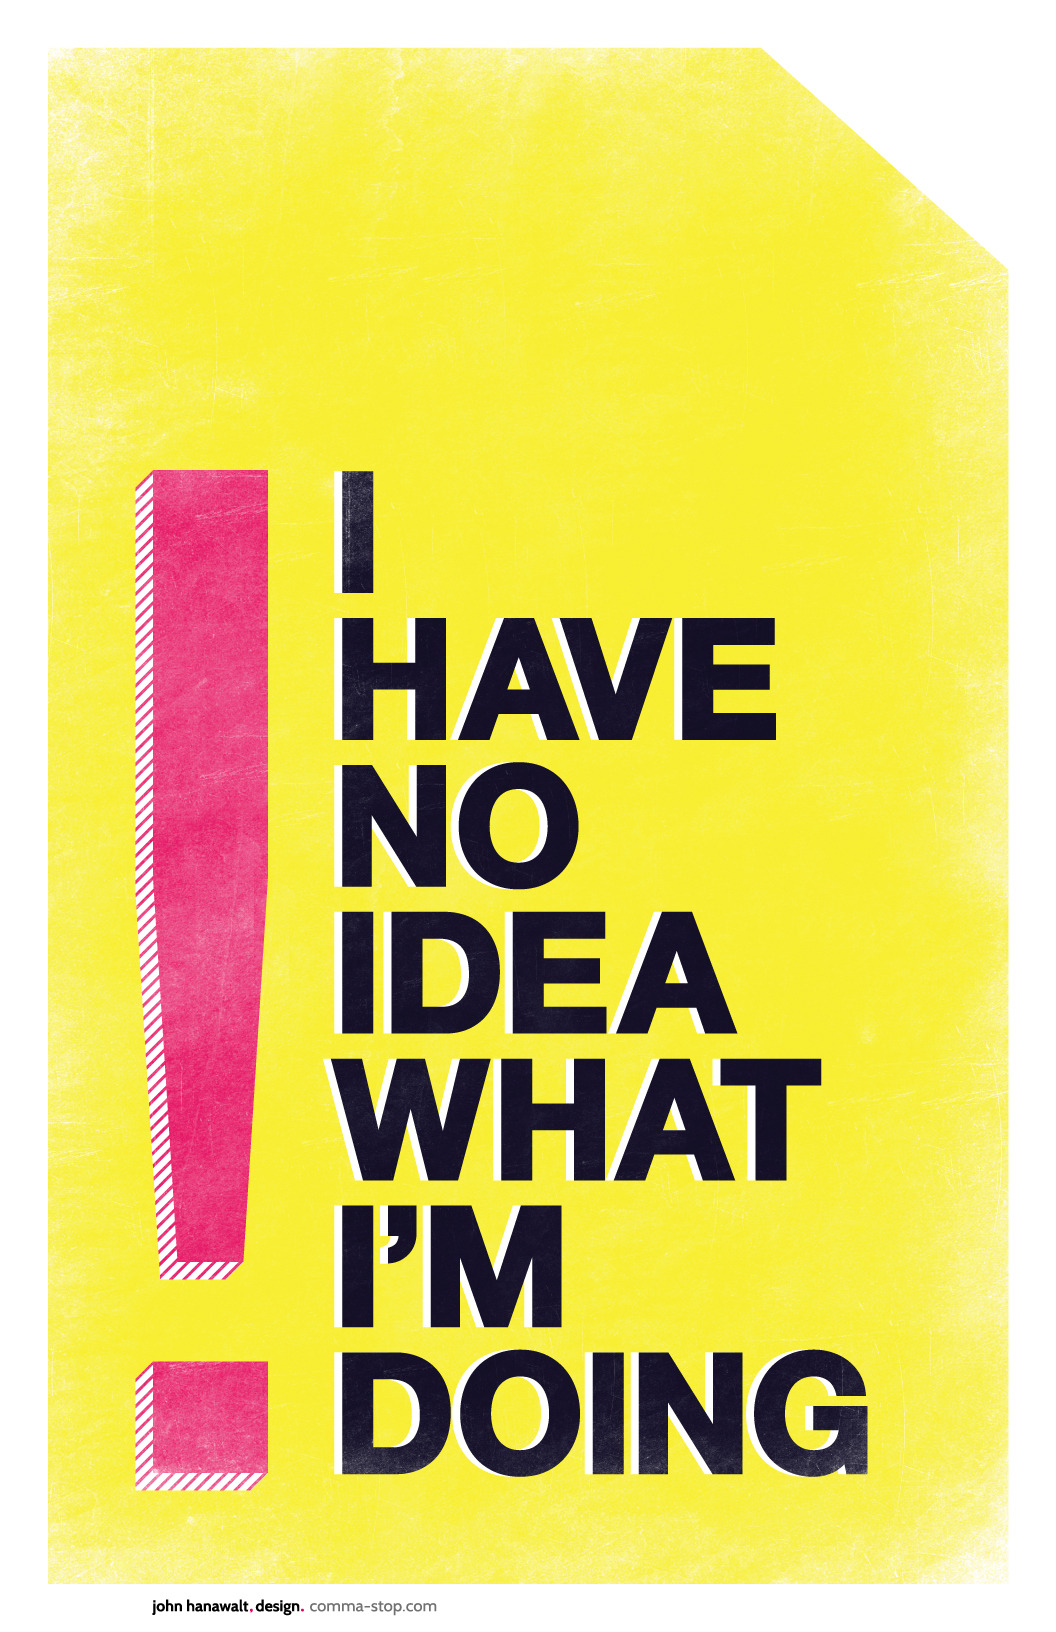
Case in point...


My friend, Wida Miller, coined "kitschy" as a descriptor for my work a few weeks ago.  The more I thought about it, the more I realized that she was spot on.  Crafting is my happy place.  I don't want to take it (or myself) too seriously.  I also want my work to make people smile.  


Why do I create what I do?  
I started started scrapbooking in 2000 as a creative outlet and to give me something to do with my pictures.  After my first daughter was born, I picked up card making as I wanted to be able to make thank you cards and birthday party invitations.  I fell in love -hard- with card making and started putting myself out there with challenges and submissions.  A few challenge wins, some magazine publications, a crown (!) and a handful of design team opportunities later, I am more in love now than ever.  As a wife and working mother, so much of my time and energy is spent on doing things for others.  With card making and crafting in general, I value having something that is mine and that I do for me.

How does my creative process work? 
My creative process looks a little something like this: 


Can anyone relate? Seriously though, my time in my craft room is often limited, so a lot of my design process takes place in my head.   It usually starts with an idea and then I think about how I can pull off the idea with the supplies I have on hand.  I am also not afraid to break things in the name of creativity. I have been known to perform stamp surgery and dissect dies.  I am willing to break and "ruin" things for a creative endeavor.  I don't have a background or any formal training in design, but I like to think that I can recognize good design when I see it.  I spend time studying successful design and try to apply the techniques to my work.

I thought I would leave you with this image and thought... For a simple, streamlined card maker, my process (and my desk) is messy.  Looks like a clean up is in order! 


Well that's it for the questions, so now I get to tag three creative ladies who will share more about their creative processes next Monday, September 22.  

Karolyn Loncon
In her words "I’m a retired Legal Assistant, married to Garry since 1980, and mom to Amy (married to Joe) and Ashley (married to Blake and the mother of my two-and-a-half grandkids!)  I’m blessed to live in Issaquah, WA in the summer, and Chandler, AZ in the winter – the best of both worlds!  I love all things paper crafting, but especially stamping and card-making.  I love to laugh, shop, travel, and play BINGO (don’t judge!  LOL)  I would describe my personal crafting style as a mix of clean and simple, graphic, and a bit of fun and cute thrown in for good measure.  I currently design for Avery Elle Stamps, the AEI♥U Challenge, and the Runway Inspired Challenge.  I feel so blessed to be a part of this amazing stamping/card making community!  I am inspired by so many of you every single day and love how we all support and encourage each other!"

I first discovered Karolyn on the pages of Paper Crafts and Scrapbooking Magazine.  I have long admired Karolyn's impeccable style and craftsmanship.  There isn't a style that she hasn't mastered.  She has designed stamp sets for Paper Smooches, and she is also a die-cutting wizard.  She can make her Silhouette sit up and bark!  I have the privilege of sharing Fridays with Karolyn on the Avery Elle blog.

Sav O'Gwynn
In her words "My name is Savannah O'Gwynn {aka Sav}. I live in Southwest Florida with my husband, Travis, and 6 year old pup, Olsen. I've been crafting and designing since August 2009. I love everything about crafting--patterned papers are my favorite, as well as different types of ribbons and alpha letters! I enjoy working in my studio and being creative. I also love to sing--worshiping with my husband is a passion of mine."

I was familiar with Sav and her work through the paper crafting community, but have gotten to know her better since joining the Paper Smooches SPARKS team about 1 year ago.  I admire Sav for how well she is able to incorporate products and techniques into her designs.  She makes it look easy, but I know that it's her mad skillz shining through. Her style has a modern, whimsical vibe and she is a versatile designer!  Not only does she make amazing cards, but she designs jewelry and other home goods- using paper crafting supplies.  Plus, she leaves the sweetest comments on blog posts.

Nina Yang
In her words "Hello! My name is Nina Yang. I am a card maker with a passion for 3D crafts. Waffle Flower™ is a little adventure I embarked on to stretch my creativity and experiment with craft designs. We specialize in unique and innovative stamps and dies for hobby crafting. Paper crafting is a way for me to explore myself. I love to share what I’ve learned at the Waffle Flower Blog, which is popular for its Freebies and Tutorials."

I first met Nina through the Neat and Tangled Design Team, but I was already familiar with her stunning work from the 2012 Gallery Idol competition. Nina and I were crowned Stamping Royalty in 2013 and earlier this year, Nina invited me to be on the first Waffle Flower Crafts design team.  I have been in awe of her designs and ideas.  Her products and approach as so well designed and thought out. There is a reason and a methodology behind everything that she does! She is also so generous with her knowledge and inspiration often sharing her process and tutorials with her readers and making sketches, templates and other downloads available on her site.

Well, that's all for me today.  I am off to tackle some crafty to-dos, but I will be back later this week with some Avery Elle cards and a Waffle Flower project.  Oh and for the Frozen party, wish me luck!

Thanks for stopping by!
Katie

Friday, September 12, 2014

Noel {Avery Elle}

Hi everyone!

Happy Friday!!!  I am popping in today to share a card that I created with the new Noel stamp set from Avery Elle.  There are so many awesome images included in this set, but for my card today, I decided to focus on the fabulous snowflakes.


I trimmed a panel of white card stock and stamped the snowflakes and tiny stars with Avery Elle's Lemon Grass, Raspberry and Cherry pigment ink.  The "Noel" sentiment was stamped with Cherry Ink.  


I adhered the stamped panel to a Raspberry card stock base and added a couple clear sequins as a finishing touch.   Another simple Christmas card, but I LOVE the bright colors, and without a lot of fussiness in the design, it's pure stamping JOY! 

Well, that's all for me today!  Thank you so much for stopping by!

Katie

Monday, September 8, 2014

Deconstructed Rudolph {Waffle Flower Crafts}

 Hello friends,

My name is Katie, and I am a Christmas card addict.  I picked up card-making in 2006 with the sole purpose of crafting handmade Christmas cards and birthday party invitations.   I have probably crafted hundreds, if not close to a thousand, Christmas cards over the years, and I am always trying to think up ideas that are simple, easy to mass produce, but still pack a visual punch.

One of the trends that I love in Christmas cards (and anytime, really) are the deer antlers in paper crafting.  I call it "Taxidermy Chic."  Not actually having any deer antler type stamps lying about, I was looking at Waffle Flower Crafts' Loved Stamp Set and the laurels struck me as something that could stand in for antlers and help me create a Deconstructed Rudolph.  After all, he is the MOST famous reinDEER of all. :)


I stamped and heat embossed the Laurels and the Merry Christmas sentiment from A Homemade Christmas Stamp Set with white embossing powder on a panel of brown card stock.  Next I added a circle that I punched from a scrap of red card stock. 


To add a bit more interest to this simple card, I die cut the bottom edge of the brown panel with the stitched pinking edge from Pretty Pink Posh.  Finally, I adhered the completed panel to a kraft card base.  Super simple, but cute, and completely flat for mailing! 


Well that's all for me today!  Thank you SO MUCH for stopping by!  

Take care, 
Katie

Sunday, September 7, 2014

One day at a time {Paper Smooches SPARKS}

Hello friends!

I hope you are having a lovely weekend!  I am popping in today with a card that I created for this week's Paper Smooches SPARKS challenge.  This week's theme is an easy one- it's ANYTHING GOES and here's what I came up with.


I recently picked up the First Aid Kit stamp set and decided to create a Get Well card for a friend in need of some healing wishes and prayers.  First, I stamped the images from the set in kraft ink on a kraft card base to create a background. The sentiment included in the set, "one day at a time" sparked the idea of a calendar, so I created one using the Quote Tag die as the base. 


I die cut the tag from brown card stock and heat embossed the sentiment with white embossing powder.  I cut some rectangles from white card stock and stamped the numbers from the Digits stamp set.  I stacked a few dates together to give it some dimension.  This calendar element could be a fun interactive element too.  If you use staples to hold together the calendar, the recipient could tear off the top number and track the count down. 


Ready to play? You know the routine! You have until 11:59 PT on Saturday, September 13 link up your take on this week's challenge to the Paper Smooches SPARKS blog for a chance to win a $30.00 gift certificate to the Paper Smooches store. Woot woot!  

Well that's all for me today!  I am off to get this in the mail! Be sure to check out inspiration from the talented Paper Smooches SPARKS team playing along with this week's challenge:


Thanks for stopping by! 
Katie

Saturday, September 6, 2014

Avery Elle Winner Winner!

Hello,

Just popping in super quick to announce the winner of the Home Sweet Home set, from my Avery Elle Design Team announcement earlier this week.  Random.org chose lucky number 10- Stacey Schafer! Congrats, Stacey!! I am sending you an email!  Thank you to EVERYONE who stopped by and offered kind words and encouragement!

Katie

Friday, September 5, 2014

I'm Guest Posting at Waffle Flower!


Hello friends,

I am guest posting today at the Waffle Flower blog.  For the Freckled Fawn + Waffle Flower blog hop, I am showing off some cards with flair (and wood veneers, clips and washi, oh my!).


I'd love for you to stop by and see what I have been up to! 

Katie


Hello, You are Fabulous {AE Challenge}

Hello friends!  

Welcome Friday and welcome to another Avery Elle I {heart} U challenge.  This week's challenge is Clean and Simple also known as CAS.  Here's my take:


I recently picked up the Hello stamp set.  It's one of Avery Elle's earlier releases and it's been on my wish list for some time.  I just think the name label is so stinkin' clever.  And where do name labels belong?  On a shirt, of course and in this case, a V-neck!  


I made a card from a white card stock and covered it with a panel of skin tone card stock- in this case, I used Blush Blossom card stock from Stampin' Up.  Next I used the angled die from the Custom Panel Elle-ments die to cut a V in a piece of green card stock.  

I adhered the green card stock to the card.  I stamped the "Hello You are" label with blue ink and "fabulous" with black ink.  I trimmed the label and adhered it to the "shirt."  Finally, I stamped the smiley face included in the Hello set on yellow card stock, punched it out and adhered it to the label.  


Well that's it for me today. Be sure to stop by the AEI{heart}U blog for even more inspiration from the design team and to link up your take on this week's challenge.  I can't wait to see what you create!

Thanks for stopping by!
Katie


Thursday, September 4, 2014

Scripty Jolly Holiday {Avery Elle Blog Hop}


Hello again! :)

I am so super excited today to be participating in my very first Avery Elle Blog Hop in celebration of the Fall 2014 release. For today's hop I made a card with the North Pole stamp set.  I just adore the scripty hats included in this set, so I tried to build a card using just those images. 


On a piece of Cherry card stock, I stamped the hat sentiments in Versamark and then heat embossed them with white embossing powder.  

A couple tips: 
  1. Selectively ink the stamp and leave the hat portion of the image uninked to avoid making an impression.  
  2. I stamped and embossed two rows of the background at a time to avoid an embossing powder disaster.  
  3. I also used my Embossing "Bestie" (we are much more than mere "buddies") between each round of stamping/embossing to minimize stray powder flecks.  

I matted the stamped panel with black card stock and adhered it to a white card base. For the focal point, I stamped and embossed jolly on a black card stock circle.  I stamped a die cut one of the stars using the coordinating die set on yellow card stock and adhered it above the "J" for a small pop of color.

You can't have a blog hop without an awesome prize and Avery Elle is giving away a $25 Gift Certificate to one random winner.  To enter to win just comment on this post.  There is no purchase necessary and you must be 18 years of age or older to enter.  This giveaway is void where prohibited.  You can also do options 2, 3, 4, 5 or all 6 of the following to increase your chances of winning. You have until midnight Sunday, September 7th to enter.  The winner will be announced on the Avery Elle Blog on Monday, September 8th .  All products are available for purchase in the Avery Elle store right now.


To enter to win you can do 1, 2, 3, 4, 5 or all 6 of the following to increase your chances:

  1. Comment on any of the design team's posts and/or on the Avery Elle Blog
  2. Follow Avery Elle on Twitter and tweet the contest (we are @averyellestamps )
  3. Follow Avery Elle on Facebook (we are www.facebook.com/AveryElle ) and share us with your friends - make sure they tell us you sent them.
  4. Follow Avery Elle on Pinterest
  5. Become an Avery Elle blog follower through email (comment on the Avery Elle blog if you already follow AE)
  6. Join our Flickr group (comment on the Avery Elle blog if you already belong)
Be sure to check out even more amazing inspiration from the awesome team: 


Well that's it for me today!  Thanks so much for stopping by and good luck! 

Katie

All is Calm, All is Bright {Take 2 Thursday}

Hello there,

My friend, Lindsay and I are back today for another Take 2 Thursday. This time, we are using the sweet Storybook stamp set from Avery Elle.  This the darling animal images in this set were hand drawn by the talented Heather Campbell.

 I paired Storybook with the Let It Snow stamp set, to create a wintery scene.


I stamped the birch trees from Let it Snow in Hero Arts Wet Cement ink on a Fine Linen card base.  I die cut the snow bank using Avery Elle's Custom Panels Elle-ments Die and stamped the sentiment from Let it Snow in red ink. I lightly inked the snowflake background with Avery Elle's White Pigment Ink and stamped it over top of the birch trees.


Next I stamped and die cut the bird and deer from Storybook onto card stock.  I will readily admit that I am not the best colorer, so stamping images on colored card stock is a simple, no fuss way to add a pop of color to my images.  I added a few spots to the deer with a white colored pencil.

I adhered the deer and bird to the card and added a red gem to the deer's nose to transform him to a famous holiday icon. ;)

Be sure to stop by Lindsay's blog to check out her use of this adorable set!  

That's it for me, for now, but I will be back in a couple hours with Avery Elle's Fall Release Blog Hop! 

Thanks for stopping by!
Katie


Monday, September 1, 2014

BIG, HUGE, EXCITING NEWS + giveaway!!!

Hello friends, :)

Today I am a 

(happy camper)!  

I finally get to share the secret that I have been carrying around for what seems like a very, very long time.  About a month ago, I received an email from Jamie Gracz inviting me to join the Avery Elle Design Team.  You can read the announcement here. I am beyond thrilled, excited and all those other adjectives for happy.  I remember finding Avery Elle shortly after their launch in 2012 and falling in love with the bold, modern, trendy, and sweet designs, not to mention the amazing cardstock, fabulous ink and gorgeous ribbons!  


Jamie and the team have been hard at work creating some amazing products for the Fall Release that will be introduced this week.  I can't wait to show you some of what I have been working on!  My first post will be for this Thursday's new release blog hop.  After that, my projects will be featured on the Avery Elle blog on Fridays- the best day of the week just got better!  :) 

To celebrate this news, I have an extra Home Sweet Home set to giveaway today!  


Just leave me a comment and I will choose someone at random to win this set (one of my AE favs)! I will announce the winner on Saturday, September 6.

Thanks so much for stopping by!
Katie